
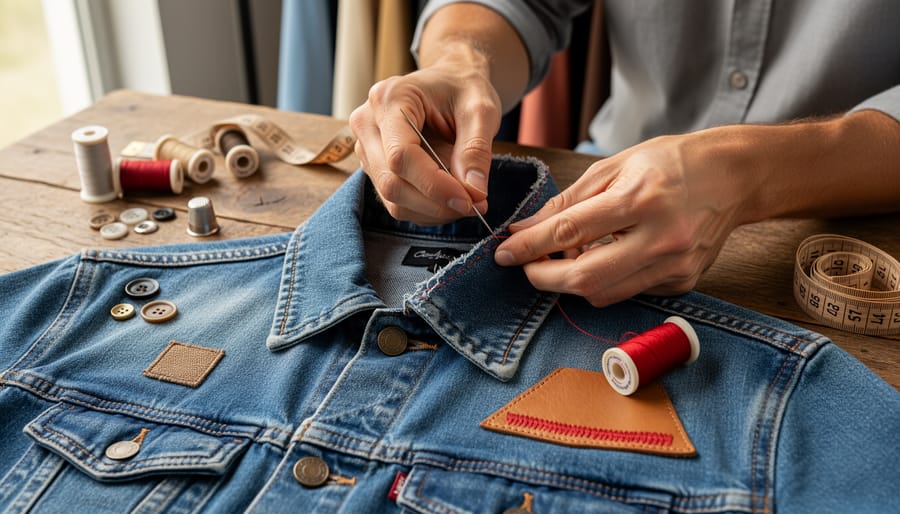
Fashion hacking is the art of changing clothes you already own into pieces that feel like you, and you can start with a needle, thread, and an hour or two on a quiet afternoon. A basic hack, like swapping buttons, tapering a hem, or covering a stain with a patch, costs a few dollars and takes no special training. More ambitious projects, like reworking a thrifted jacket or adding hand-stitched details, just stack a few extra skills on top of the same simple foundation.
Why does it work? Because personal style isn’t about what’s on the rack. It’s about the choices you make once the garment is in your hands. A flat-front shirt becomes a statement when you add embroidered florals along the collar. A tired pair of jeans becomes a favourite once you’ve made them fit exactly how you want them to.
For many in our community, clothing has always been a way to say who we are, sometimes loudly, sometimes quietly. Customizing what you wear puts that power directly in your own hands, with no one’s permission required.
This guide walks you through the tools and materials you’ll need, a few safety basics, and a step-by-step process with options for beginners and more experienced makers. You’ll finish knowing exactly where to begin, and how to check your work.
Why Fashion Hacking Is Such a Powerful Form of Self-Expression
Clothes have always been a quiet kind of language. Long before there were rainbow flags on every storefront, people in queer and trans communities were reading each other through the small stuff: a pin placed just so, a cuffed pant leg, a jacket stitched with something only the right person would notice. Reworking what you wear has been a way to say “I’m here” without saying a word, and to spot a kindred spirit across a crowded street.
That’s the heart of why fashion hacking matters. When you cut, patch, dye, or restyle a piece, you stop wearing what someone else decided was right for you. You wear what feels like you. For a lot of people, that shift is the difference between getting dressed and finally feeling at home in their own skin.
It also helps that the barrier to entry is so low. A thrifted tee costs a few dollars. A box of safety pins costs less than a coffee. Giving an old garment a second life keeps it out of the landfill, too, so your self-expression can be gentle on the planet. And you don’t need a sewing machine or any formal training. Plenty of people learn the same way they pick up any skill in a welcoming community, through trial, laughter, and a bit of inclusive learning from friends who share what they know.
Whatever your body, gender, age, or taste, your wardrobe is yours to reshape.
Tools and Materials to Gather Before You Start
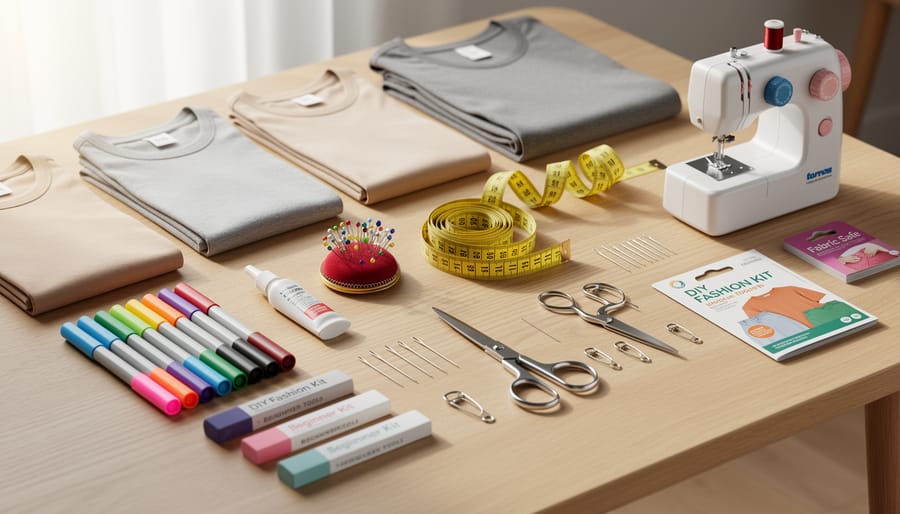
You don’t need a craft room, a sewing machine, or a big budget to get going. Most fashion hacking starts with a handful of everyday supplies, and plenty of them are probably hiding in a drawer at home. Here’s a simple way to build your kit, starting with the easiest stuff.
- No-sew basics: safety pins, fabric glue, iron-on patches, and a sharp pair of fabric scissors.
- Basic sewing kit: hand-sewing needles, all-purpose thread, a seam ripper for undoing mistakes, and a flexible measuring tape.
- Decorative extras: fabric paint, studs, buttons, ribbon, and enamel pins.
Think of these as three tiers. The no-sew basics will carry you through your first few projects, and you can add the sewing kit once you’re curious about stitching. The decorative extras are the fun part, so pick up one or two that match your vision rather than buying everything at once.
A few tips can keep costs low. Thrift stores and dollar shops are great for buttons, ribbon, and secondhand scissors. Clothing swaps and community closets often have trims, patches, and donated sewing supplies tucked in a bin. Old clothes can be harvested for buttons and fabric scraps, so nothing goes to waste.
You can also borrow before you buy. A friend with a sewing kit, a neighbour who loves to craft, or a local makerspace or library that lends tools can save you real money while you figure out what you enjoy. Many makerspaces offer drop-in craft nights too, which makes it easy to try a new technique alongside other people.
Whatever you gather, keep your supplies together in one box or tote so they’re ready the moment inspiration hits.
Choosing Your Starting Pieces and Setting Your Vision
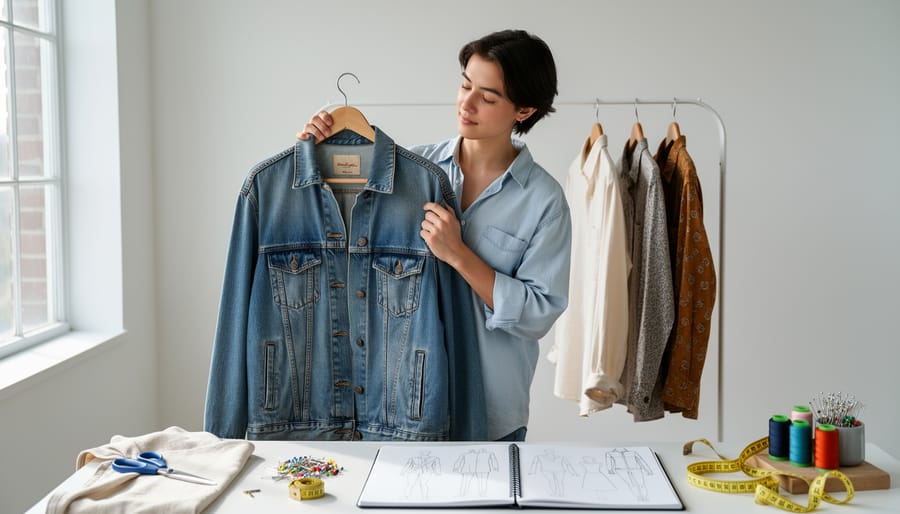
Before you cut or stitch anything, take a slow look at what you already have. Pull everything out of your closet and sort it into three piles: pieces you love, pieces you wear but don’t feel much about, and pieces that have been hanging there untouched. That last pile is gold. A shirt that never quite fit your vibe is the perfect candidate for a second life, and there’s no pressure because you weren’t wearing it anyway.
If your closet comes up short, secondhand shops, clothing swaps, and community closets are full of good raw material. Look for sturdy, forgiving fabrics: thrifted denim, plain cotton tees, oversized button-ups, or a jacket with a worn-out collar but strong seams. Oversized pieces are especially handy because there’s plenty of fabric to play with, and a little extra room means you can crop, cinch, or reshape without worrying about fit. Check the tag, too. Natural fibres like cotton and denim are easier to paint, patch, and cut than slippery synthetics.
Then, get clear on your vision. What colours make you feel most like yourself? Maybe it’s a bold rainbow, a soft pastel palette, or all black with one flash of brightness. Think about symbols that mean something to you, textures you love (fringe, frayed edges, smooth satin), and silhouettes that feel right, whether that’s boxy, fitted, flowy, or sharp. Snap photos of looks that spark joy and save them in a folder.
Finally, start small. One tee, one patch, one afternoon. Follow what makes you smile, not what’s trending this month.
Stay Safe While You Create: Warnings and Know-When-to-Stop Cues
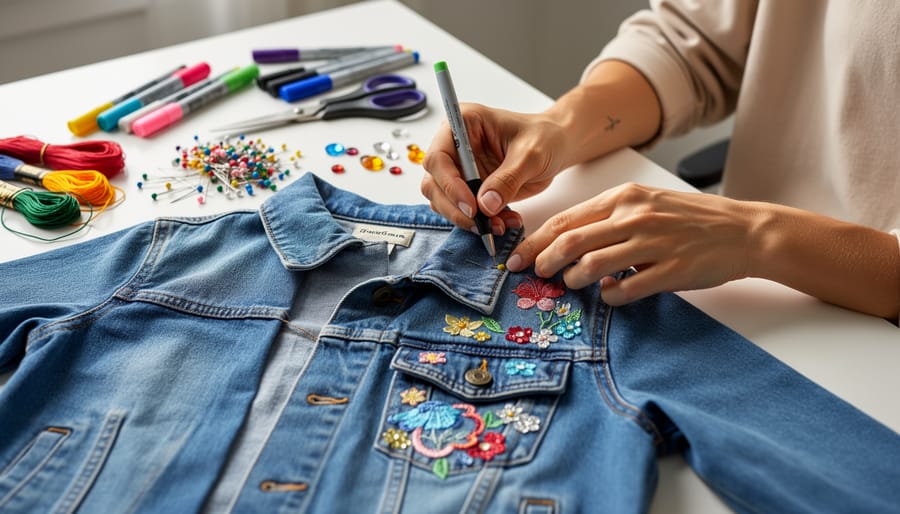
Creativity goes best when everyone stays unhurt, so a little prep goes a long way. None of this is scary, just good habits worth building from your very first project.
Start with your tools. Scissors, seam rippers, and needles should be sharp enough to work cleanly, and always cut away from your body and onto a stable surface. Keep pins in a small dish rather than loose on the couch.
Next, think about air and skin. Fabric paints, glues, and dyes are best used in a well-ventilated space, so crack a window or work near a fan. Wear gloves when handling dye or bleach, and consider safety glasses if anything could splash.
Heat deserves respect too. Never leave an iron or hot tool unattended, and give pieces a moment to cool before you handle them. Before you commit to any treatment, check the care label, since fabrics like polyester, silk, and some blends react very differently than cotton or denim.
Know your stop cues. If the fabric frays badly, thins out, scorches, or the colour changes in a way you didn’t expect, put the tools down. Walk away, take a breath, and come back with fresh eyes.
And remember, asking for help is part of the craft. A friend with a sewing machine or a local tailor can rescue a tricky fix, and most are happy to share a tip.
Step-by-Step: Turning an Everyday Piece Into Something Entirely You
Easy No-Sew Hacks to Try First
Not ready to thread a needle? You can transform clothes in a single afternoon with tools you probably already own.
Start with a crop. Lay an old tee flat, mark your line with chalk, and cut through one layer at a time. Cotton jersey curls at the edge instead of fraying, which gives you a relaxed, finished look for free.
Safety pins are your next best friend. Line them along a seam, clip them through a sleeve, or thread on beads for a bit of sparkle. Iron-on patches work the same way: place, press with a cloth over the top, and let it cool completely.
Fabric paint is where personality really shows up. Stencil a symbol, doodle a favourite phrase, or splash colour across a denim jacket.
Finally, try styling tricks. Knot a button-up at the waist, tuck one side of a hem, or layer a slip dress over a tee. Same closet, brand new outfit.
Next-Level Ideas Once You’re Feeling Confident
Once the no-sew hacks feel easy, it’s time to pick up a needle. Start with tailoring for comfort: taking in a side seam, hemming sleeves or trousers, or letting out a waistband so a garment fits your body the way you want it to. Fit is a big part of feeling like yourself, and a few straight stitches can change everything.
Embroidery is another gentle step up. A simple backstitch lets you add words, flowers, or a tiny rainbow to a collar, pocket, or cuff. Try combining two garments, too, like stitching a contrasting sleeve onto a denim jacket or turning two tees into one patchwork piece.
If you’d like a pride-inspired accent, sew a row of striped ribbon along a hem or add a small patch you’ve stitched yourself. Every gender expression, body type, and style is welcome here, so make it fit your vision.
Check Your Work and Plan Your Next Project
You’ve made the thing, and now comes the fun part: making sure it lives up to your vision. Put it on and run through a few quick checks before you wear it out.
- Comfort and fit: reach, sit, squat and twist to confirm nothing pinches, rides up or restricts you.
- Seam and patch strength: give seams, patches and pins a gentle tug to see whether anything shifts.
- Colour fastness: wash it once following the care label, then check for bleeding or fading.
- Does it feel like you: look in the mirror and notice whether you smile.
Spotted a slip-up? Most are easy to fix. A loose patch needs a few extra stitches or a dab of fabric glue, a crooked hem can be unpicked and redone, and a design that dulled in the wash can often be refreshed with another thin coat of paint. If something genuinely isn’t working, set it aside for a while. It might turn into your next project.
Then take it out into the world. Many Canadian communities host clothing swaps, craft nights and Pride events where you can trade pieces, borrow ideas and meet people who love this stuff as much as you do. You can also check out LGBTQ+ supporting companies that host or sponsor local gatherings. Share a photo of your finished look, too. You never know who it might inspire to pick up their own safety pin.
Fashion Hacking Questions, Answered
Do I need to know how to sew?
Not at all. Scissors, safety pins, iron-on patches and fabric paint will take you a long way, and you can pick up a few simple stitches later if you feel like it.
How much does it cost to start, and can I do it on a tight budget or in a small space?
You can begin for just a few dollars, especially if you use a secondhand piece and borrow tools from a friend. A kitchen table or a patch of floor is plenty of room for most projects.
How do I care for a hacked garment?
Wash it gently, inside out, in cool water, and let it air dry when you can. Patches, paint and embellishments last longer when they aren’t tossed around in a hot dryer.
What if my project doesn’t turn out the way I imagined?
That happens to everyone, and it’s part of the fun. Unpick it, cover it with a patch, or turn it into a rag and start fresh with what you learned.
Finding your people is easier than it sounds. Clothing swaps, craft nights and community closets are welcoming places to trade tips and show off what you’ve made, and many of them are open to complete beginners. If you’re hoping to see creative style on full display, look at Pride events in Vancouver or whatever celebration is closest to you. Wearing your finished piece out into the crowd is a great way to spark a conversation, and you might leave with a new friend and your next project idea.
Whatever your questions, remember that there’s no wrong way to express yourself. Start small, stay curious, and let your wardrobe grow along with you.
Your wardrobe is a canvas, and every snip, stitch, patch, and pin is a brushstroke that belongs entirely to you. You don’t need a perfect result or a fancy toolkit. You just need one piece of clothing and a little curiosity about who you are and how you want to show up in the world.
Canadian LGBTQ+ communities and their allies have always known that style can be a quiet kind of courage, a way of saying “this is me” without a single word. Every reworked jacket and hand-painted tee adds to a larger tapestry of creativity, and it’s part of the same spirit behind the stories of acceptance people share from coast to coast.
So pick one small project this week. Crop a tee, add a patch, or knot a sleeve in a new way. When you’re done, wear it proudly and share your finished look with friends, your community, or a local craft night. We can’t wait to see what you make.