

By Lee Wallender
Renovation Expert
 Tossing your faucet merely because it is leaky is wasteful and costly. Tons of brass, steel, silicone, chrome-plated plastic, and die-cast zinc annually end up in landfills because faucets are old and have reached the end of their lifespans. But countless other tons are needlessly discarded due to leaks that homeowners did not believe could be fixed.
Hanging onto a leaky faucet is costly, too. The United States Environmental Protection Agency estimates that the average U.S. family wastes 9,400 gallons of water annually from household leaks. This is enough to run 300 loads of laundry. Leaks alone account for nearly one trillion gallons of wasted water across the U.S. per year.
Water is an increasingly dwindling resource. Given that the monthly price of water for an average U.S. family increased by 52 percent from 2010 to 2017, this is a pressing issue that goes beyond just a matter of an annoying drip at night.
Be part of the solution by fixing your own leaky faucet, both for your own sake and for the good of the earth. This article will help you fix any of the four most basic types of household faucets. It may be easier than you expect, and it usually will be less expensive than purchasing a new faucet.
Before You Begin Your Repair
Faucet repair utilizes relatively few tools, many of which you may already have on hand. Before you start your repair, you will want to have all tools and materials nearby.
Tools and Materials
- Screwdrivers
- Allen Wrenches (Hex Wrenches)
- Pliers
- Channellock-Style Pliers
- Bucket
- Clean Towel
- Clean Plastic Bin
- Egg Carton, Optional (preferably Styrofoam)
- Duct Tape
- Distilled Vinegar
- Various Cleaning Implements: Q-Tip, Scouring Pad, Cloth Rags, Old Toothbrush
- Plumber’s Grease
- Utility Knife
- Parts Specific to Your Type of Faucet
Preparation and Shut-Down Procedures
- Shut Water Off: Shut off water at the faucet.
- Place Bucket: Put bucket below sink, near the water supply lines. This will collect drips after you disconnect the supply lines.
- Disconnect Water: Shut off the two water supply lines under the sink (hot and cold). Disconnect water supply valve to sink under the cabinet. Let water drain into bucket.
- Close Drain: Close with stopper. Ensure that no parts fall down the sink by sealing the sink drain with a few strips of duct tape.
- Protect Fixtures: Apply duct tape to plier jaws to avoid scratching fixtures. One great tip is to cut off the fingers from an old pair of gloves and slip the fingers onto the plier jaws. For the ultimate in protection, purchase soft-jaw pliers at your local hardware store.4
- Prepare Collection Area: Set out bin, towel, and optional egg carton next to sink to aid in parts removal. Styrofoam egg cartons work best, since they are not affected by water.
- Prepare Cleaning Items: Place distilled vinegar and cleaning implements near bin to remove mineral deposits on parts.
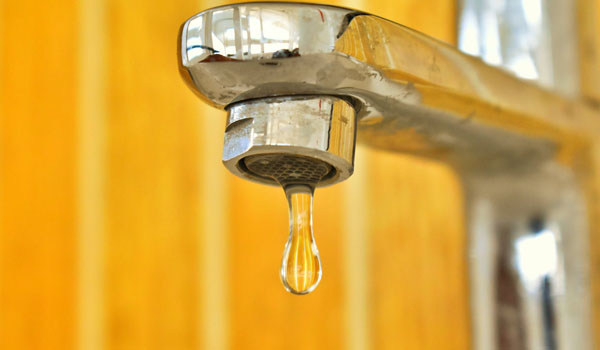
Photo credit: Nithin Pa/Pexels.
How to Fix Leaky Compression Faucets
The simplest and oldest type of faucet, the compression faucet is distinguished by its separate hot and cold controls which require you to turn them clockwise to shut off the water.
Time Allotted: 30 minutes
Tools and Materials: Channellock-type pliers; flat-head and Phillips screwdrivers; replacement washer; plumber’s grease; O-ring (optional)
- Remove the faucet handles with pliers and flat-head screwdriver.
- Remove the screw that attaches the handles to the valve stem with your Phillips head screwdriver.
- Pull the handle up to remove it.
- Remove valve stem assembly cover, then remove the assembly itself.
- With your soft pliers or wrench, remove the hex-nut section of the valve stem assembly by turning nut counter-clockwise.
- Unscrew the hex nut the rest of the way and remove.
- Find the stem washer, which will be located at the bottom of the valve assembly. It may be worn down and in need of replacement
- Remove brass screw securing the stem washer in place.
- Clean the washer holder area with vinegar and toothbrush to remove mineral deposits.
- Remove old washer and use this as your model for when you go to the store for a replacement. If the O-ring appeared to be worn, you can replace this as well.
- Reassemble: push the new washer into valve seat, then attach with the brass screw and the new or existing O-ring.
- Coat with plumber’s grease.
- Reassemble rest of faucet assembly.
How to Fix Ceramic Disk Faucets
Time Allotted: 45 minutes
Tools and Materials: Pliers; flat-head screwdriver; replacement cartridges; plumber’s grease; O-ring (optional)
- Open the plastic or metal cover plate that covers the handles.
- The faucet body is secured to the cartridge usually by a Phillips head screw, though sometimes by an Allen screw. Remove the fastener and separate the faucet body from the cartridge stem.
- Remove the locking nut with Channellock-type pliers. In some models, you may also find a brass screw on top of the cartridge. If so, remove it and hold onto it, as you may need it when you install the new cartridge.
- Slide out the retaining clip (or locking ring) with pliers, then lift out the cartridge. Take the old cartridge to a hardware store for an exact replacement.
- Soak remaining parts in vinegar, then brush off to remove deposits.
- Reassemble the faucet in reverse. If you saved the brass screw from earlier and it is needed, install this now.
- Turn on your water supply. Test the system for leaks.
How to Fix Single Cartridge (Sleeve) Faucets
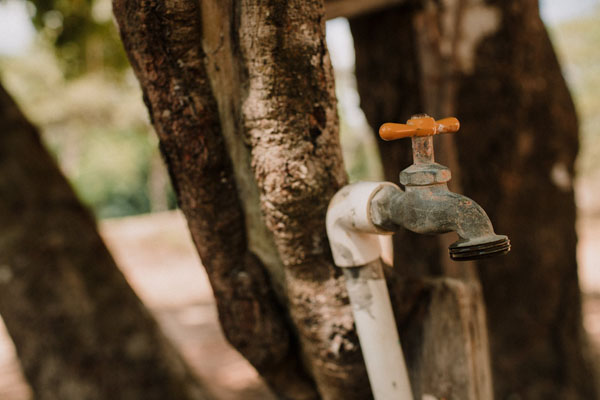
Photo credit: Nithin Pa/Pexels.
Cartridge faucets, often found in kitchens, typically have a single lever that meets a wide, cylindrical base. The lever pulls up to begin the water flow. Side to side motion controls the hot and cold functions. The optional one-for-one replacement of the self-contained cartridge means less fussing with small parts.
Time Allotted: 45 minutes
Tools and Materials: Allen wrenches; screwdrivers; Channellock-style pliers; cleaning supplies; replacement cartridge (optional, if existing cartridge cannot be cleaned)
- With your Allen wrenches, unscrew and loosen the set screw, then remove the handle.
- Lift the decorative cap straight off. These are usually delicate, so be careful. Use your hands, not pliers.
- With pliers, carefully pry the cartridge loose and remove further by hand. The cartridge will have seals on the bottom that you can pry out with the flat-head screwdriver.
- With your cleaning implements, clean the seals and the area where the seals rest. To do this, soak in vinegar and brush off deposits with a Q-tip or old toothbrush. If the deposits do not free easily, purchase a new cartridge.
- With your screwdriver, remove the O-ring from the faucet, coat with plumber’s grease by hand, then re-install in the faucet body.
- Replace the cleaned old cartridge or new cartridge, tightening with the Channellock pliers.
- Gently replace the decorative cap.
- Re-install handle, tightening the set screw with the Allen wrenches.
How to Fix Ball (Rotary) Faucets
Time Allotted: 45 to 60 minutes
Tools and Materials: Allen wrenches; screwdrivers; Channellock-style pliers; cleaning supplies; replacement parts (optional: metal ball, seat, spring, O-rings).
Ball type (or rotary) faucets are leak-prone due to their many moving parts. When they do leak, they tend to leak from either the ball, O-rings, or plastic seats, all of which can be purchased at a good hardware store or a plumbing supply store. Be sure to purchase a metal ball, not a plastic one, as they wear down quickly.
- With the Allen wrenches, remove the set screw in the faucet handle.
- Remove the chrome top cap with your soft pliers or by hand.
- Remove the cam assembly by pulling straight up. This will be a unified piece, containing a plastic cam and cam washer.
- Remove the ball and inspect it for wear.
- On the faucet assembly, use your flat-head screwdriver to gently pry out the plastic seat.
- Also on the faucet, press the tip of the screwdriver into the center of the spring. Lift out.
- On the faucet body, you may find worn or even broken O-rings. Remove by cutting with a utility knife.
- Use plumber’s grease to lightly coat the faucet body and slide on the new O-rings.
- Press spring, seat, and ball into place with your fingers. Make sure that the tab on the ball aligns with the faucet assembly notch.
- Replace the rest of the faucet, turn on the water, and test.
Fixing your leaky faucet is both economical and eco-friendly. Learn how to fix a compression faucet, ceramic disk faucet, single cartridge disk faucet, and ball faucet.
Lee Wallender began remodeling homes when he transformed a World War I-era farmhouse into a comfortable new home. He has been writing about home remodeling on About Home Renovations since 2006.


